Low Light Photography, ISO and ASA Settings – Tips & Tricks
Yvan Cohen
Thu Aug 15 2019

I’m sure you are no stranger to ISO settings, after all they’re always prominently displayed on our cameras. And if few of us, myself included, actually know what ISO stands for (International Organization of Standardization), we do at least know it has something do with the sensitivity of our camera’s sensor to light. An important feature for taking low light photography.
What is ISO or ASA?
In the old days (full discretion —I’ve been a photographer for over 3 decades now), we bought rolls of film with ISO or ASA settings on the box. Each roll had its own fixed rating, like 100 ASA or 200 ASA and so on. You couldn’t change ISO settings every shot like we do now. If you wanted to change ISO you had to change your film too, which wasn’t exactly convenient in the midst of a breaking news story.
While I generally don’t spend much time riffing about virtues and intricacies of ISO over a beer with friends, the significance of these settings is hard to understate. High ISO technology in digital sensors has revolutionized the way we take pictures.
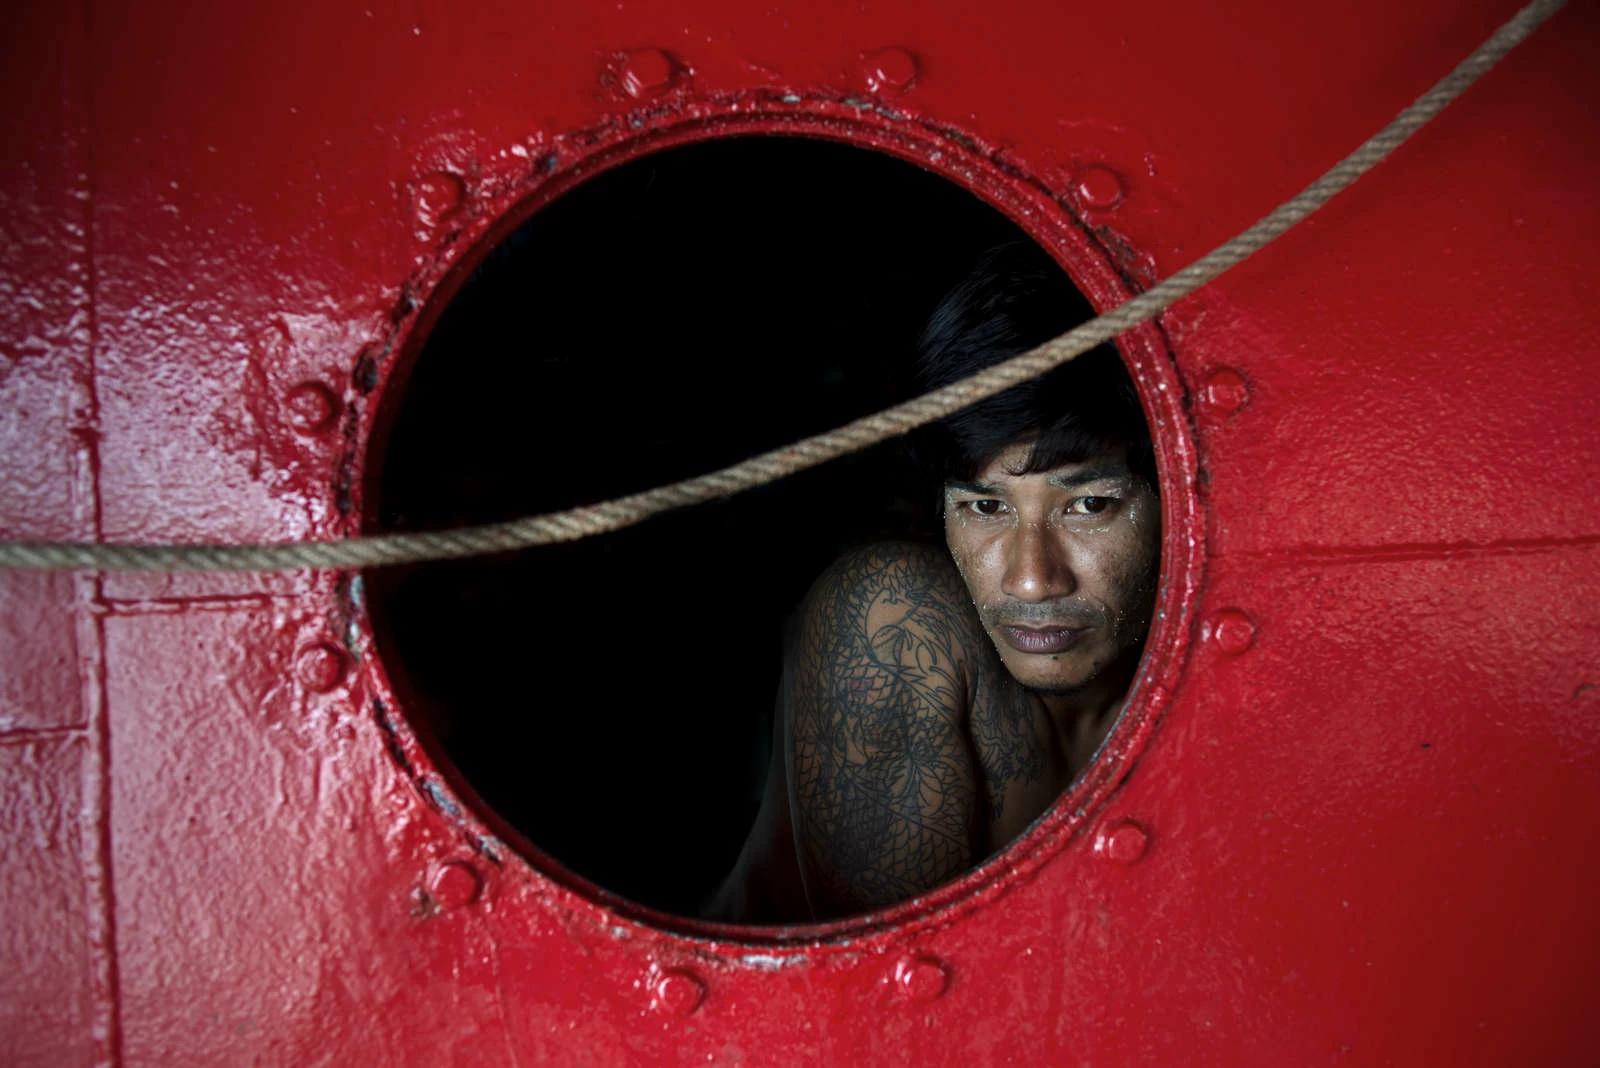
At ratings as high as 6,400 ISO and beyond, the latest top-end and even some pro-consumer cameras can deliver impressive picture quality in very dark situations.
The beauty of this is that even after the sun goes down, you can still work with the ambient light around you. Better still, you can can capture authentic moments without having to resort to that ultimate mood killer- the flash. If you’d like a few tips on how best to use a flash, check out Flash Photography: To Flash or Not to Flash
The other advantage of using different ISO settings is that you can add light sensitivity into the creative balance between shutter speed and aperture. The higher the ISO the smaller the aperture (giving you more depth of field) and the faster the shutter speed (resulting in less blur when shooting moving subjects).
Shooting in low light photography sounds easy, doesn’t it
So why don’t we always just ratchet up the ISO to make sure we’re shooting either with high shutter speeds or small apertures (a small aperture means a higher F-Stop number like F11 or F16 etc).
Indeed, it is tempting to do this and our editors at LightRocket often see submissions shot at very high ISO settings.
However, there is a downside in the form of pixilation and digital noise. No matter how much you pay for your camera or how new it is, the rule of thumb is: the higher the ISO, the more noise is generated and the more pixelated your images become.
How to shoot better photos in low light?
Our advice would be to not go much higher than 1000–1600 ISO if you’re shooting in the daytime. If you have a choice, slow down your shutter speeds or open up the aperture (meaning a smaller F-stop number) before pushing up your ISO settings. This will help drastically with shooting low light photography.
Generally, if you err towards the lower ISO setting whenever possible, you’ll be rewarded with sharper and more vibrant pictures. And when the light does start failing or if you’re in a dark setting, don’t just head for the highest ISO settings on your camera. Even if you can set your camera to 50,000 ASA, the results are just not going to be as satisfying as at the lower settings.
So the motto for ISO is keep it low when you can and head for the higher settings only when the lighting conditions make it absolutely necessary. With that, you’ll hopefully be taking some fantastic captures in low light photography.
Written by Yvan Cohen | Yvan has been a photojournalist for over 30 years. He’s a co-founder of LightRocket and continues to shoot photo and video projects around South East Asia.
To read more helpful articles on photography, check out our blog page.
Join our growing photographer community at LightRocket and get powerful archive management and website building tools for free!


